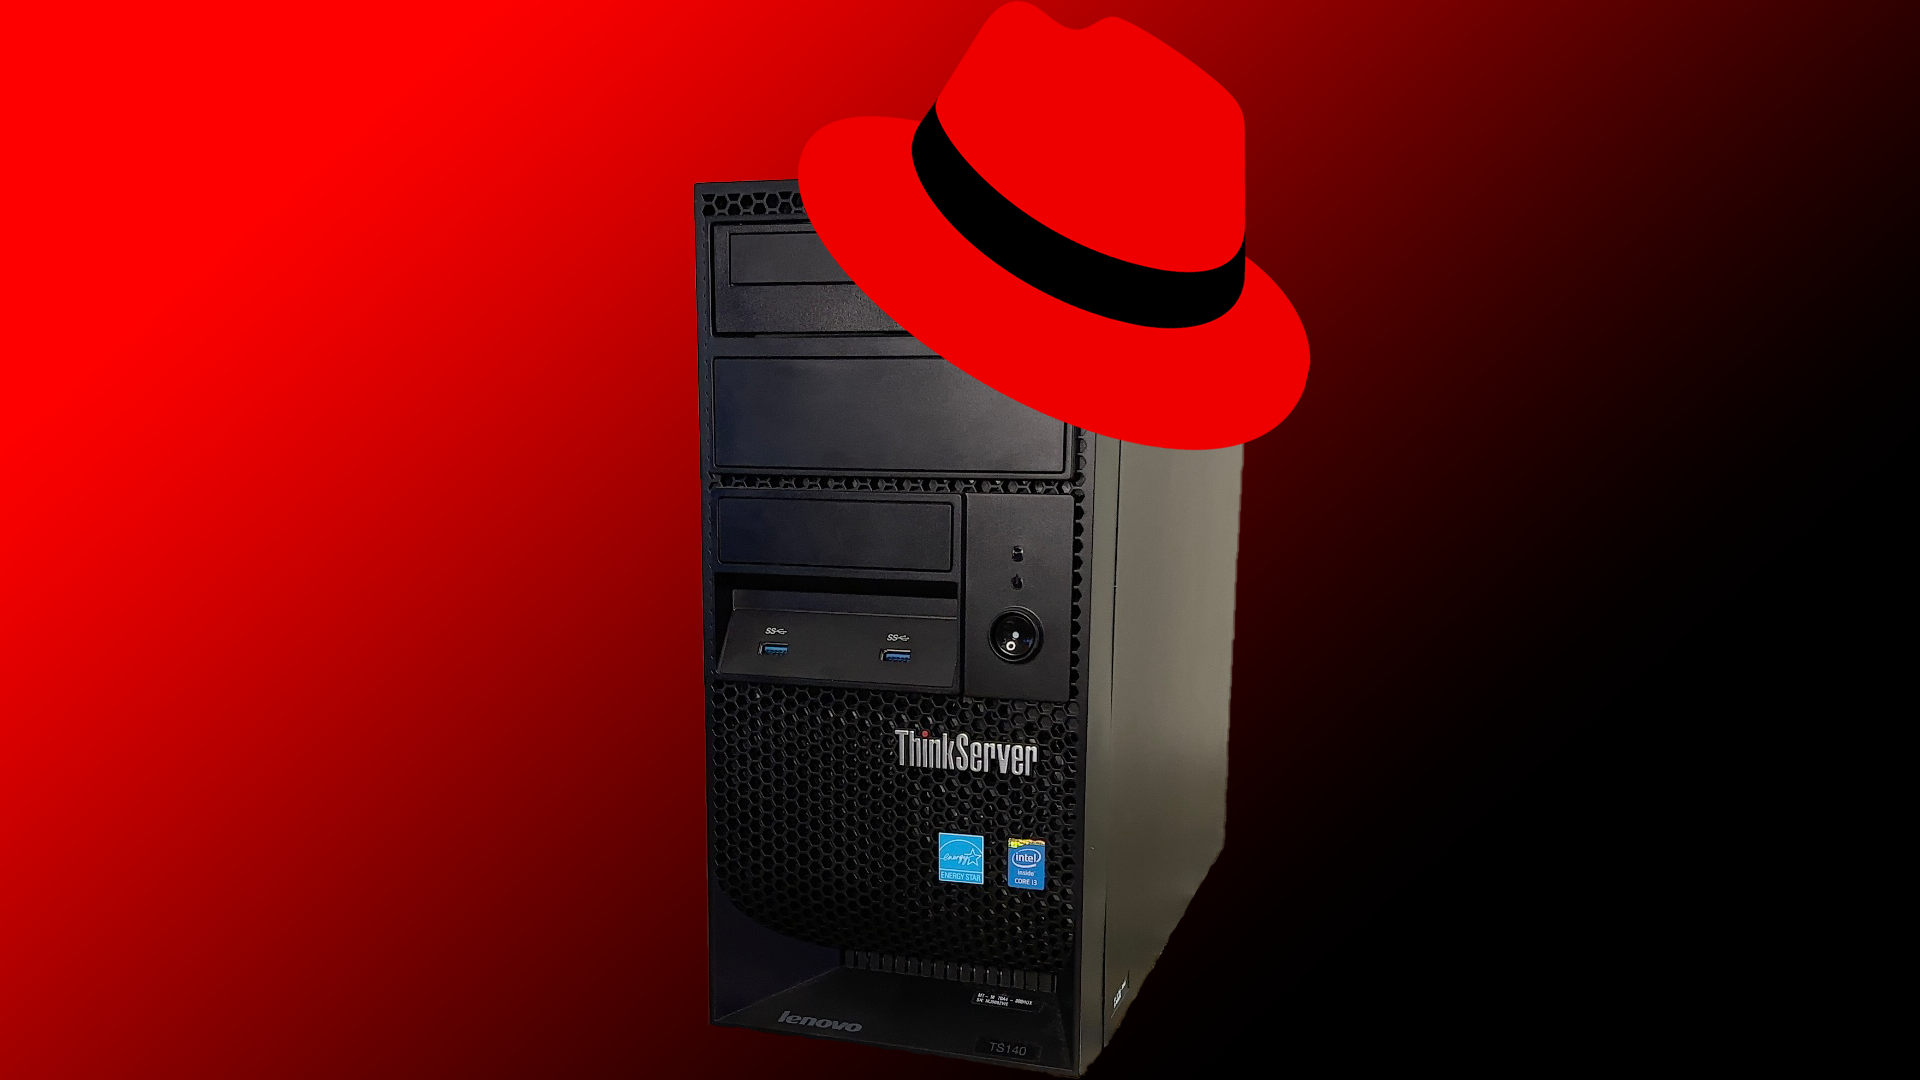
Following up on a previous video and project, I installed a second SSD for the Lenovo ThinkServer and used Red Hat Enterprise Linux as the OS.
The old desktop, likely made in 2013, was on the recycling block before I rescued it from its demise. I have inserted an old SSD from an old laptop and installed Ubuntu as the OS. The Linux distro is a popular one, and has worked fine.
I used to think that you had to pay for Red Hat Linux, but there is a way around that. An interested user can sign obtain a license for up to 16 devices as a developer and not pay a cent. I found this out from a video posted in December 2022 by Network Chuck.
I purchased a 512 GB SSD, and proceeded to install it. I soon realized that my effort would be futile as I lacked a spare SATA data cable. A week after ordering one, the installation of the SSD could proceed.
By then, I already installed an ISO file on a USB thumb drive to install it as a secondary OS on the machine using the new SSD. But I ran into other problems: The USB drive would not boot. Instead, it would start Ubuntu as normal. I already changed the boot order in the BIOS settings before starting.
Some would say that one needs to fail in order to succeed. In that case, I did pretty well in the end. Multiple failed attempts led me to come up three things to keep in mind with installing RHEL on the desktop.
- The drive should formatted to FAT32. That’s especially the case if you are trying to prepare the installer from another OS. Even though I formatted the USB drive at one point to a Linux format (ext4), it still would not boot.
- What worked the best for me for preparing the thumb drive was an app called balenaEtcher. It allows you to create an installer from an ISO file. You select which file to flash, then select the target drive (the USB drive in this case), and click a button to run it.
- In my situation, I had luck with using the boot ISO file (not the DVD ISO file). The issue I had was likely because of FAT32’s file size restrictions (4 GB max). The DVD ISO file was around 9 GB, but the boot ISO file was just over 800 MB. I did not receive any errors after flashing the drive with the boot option. It’s important to note that to install the other features a connection to the network has to already be established.
The setup screen finally appeared after a computer reboot, and the setup of RHEL began. You do need to have your Red Hat credentials already set up. Be sure to do that before installation (link here).
When you get to the screen to select the additional features, be sure to select what you want to download. Once that’s completed, the installation will begin.
The installation finished with a realization that the UI of Red Hat looked similar to Ubuntu – especially with the top-right corner where the status icons and power/restart/logoff buttons were.
One other thing I will have to get used to. With Debian-based Linux distros, the apt command to install updates and other applications is not a thing with Red Hat. The command is yum.
Yummy!